DNSTT
September 27, 2023
Overview
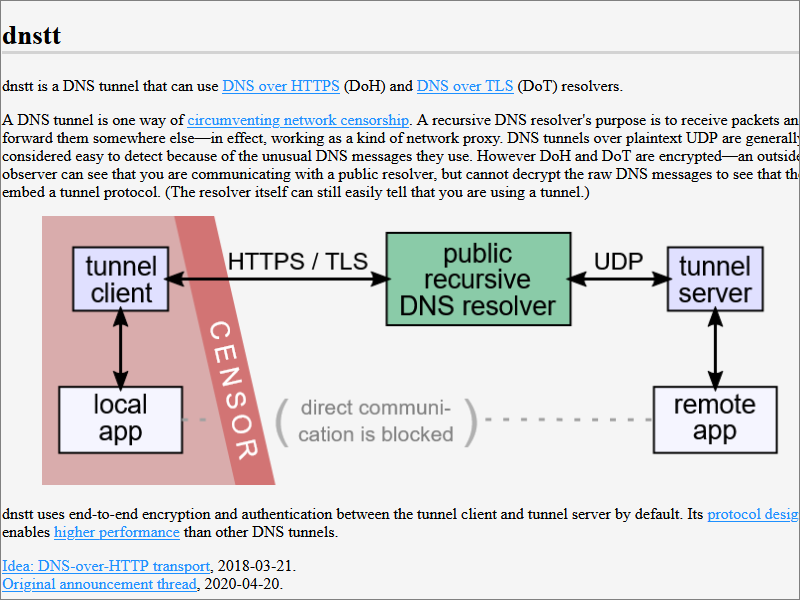
DNSTT allows you to disguise your web browsing as DNS requests on port udp/53. VPS providers such as SSH Ocean and SSH Stores sometimes refer to SSH over DNS as "SlowDNS." DNSTT advertises itself as being faster than the earlier Iodine method of DNS tunneling.
The DNSTT home page is at https://www.bamsoftware.com/software/dnstt.
VPS
You will need your own virtual private server. The examples are based on an Ubuntu 22.04 server with 1 GB of RAM.
Domain name
You will need your own domain name. The examples use a domain name of cscot.buzz.
Go to your domain name registrar's (or your DNS service's) configuration panel, and add these records:
- DNS record type
Apointing from your server's hostname (e.g.tns.cscot.buzz) to your server's IPv4 address - Optionally, a DNS record type
AAAApointing from your server's hostname (e.g.tns.cscot.buzz) to your server's IPv6 address - DNS record type
NSpointing from your chosen subdomain (e.g.t) to your server's hostname (e.g.tns.cscot.buzz)

Linux server
1. Open the server firewall. We are going to give instructions for iptables as the firewall and iptables-persistent to persist rules across reboots. We assume your server's interface is named ens3. Open ports udp/53 and udp/5300, and redirect input on port udp/53 to udp/5300, so that you can listen on a non-privileged port:
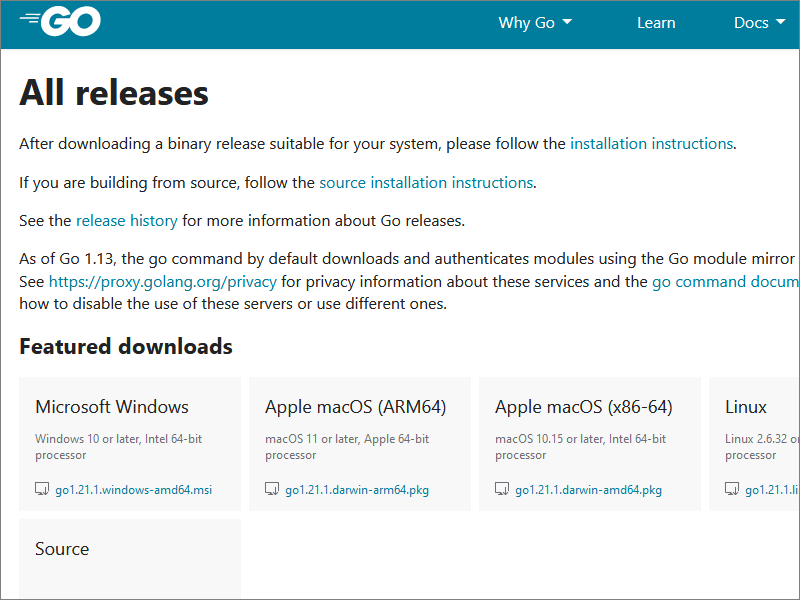
iptables -I INPUT -p udp --dport 53 -j ACCEPTiptables -I INPUT -p udp --dport 5300 -j ACCEPTiptables -t nat -I PREROUTING -i ens3 -p udp --dport 53 -j REDIRECT --to-port 5300ip6tables -I INPUT -p udp --dport 53 -j ACCEPTip6tables -I INPUT -p udp --dport 5300 -j ACCEPTip6tables -t nat -I PREROUTING -i ens3 -p udp --dport 53 -j REDIRECT --to-port 5300iptables-save > /etc/iptables/rules.v4ip6tables-save > /etc/iptables/rules.v62. Install Go. Go to https://go.dev. Determine the most recent version of Go. Our examples will use 1.21.1.
wget https://go.dev/dl/go1.21.1.linux-amd64.tar.gztar -C /usr/local -xzf go1.21.1.linux-amd64.tar.gz3. Add Go to your system-wide execution PATH:
vi /etc/profileAdd a line:
export PATH=$PATH:/usr/local/go/bin4. Create a non-root user. For example:
adduser alice5. Exit your root SSH session.
6. SSH back into your server as your non-root user (e.g. alice).
7. Build DNSTT:
git clone https://www.bamsoftware.com/git/dnstt.gitcd dnstt/dnstt-servergo build8. Generate public and private key pair for encryption:
./dnstt-server -gen-key -privkey-file server.key -pubkey-file server.pub9. Run tunnel server, replacing example subdomain by your own subdomain:
screen -S dnstt./dnstt-server -udp :5300 -privkey-file server.key t.cscot.buzz 127.0.0.1:2210. Do Ctrl+a then d to disconnect from the screen session.
Windows client
1. Install Go for Windows. Go to https://go.dev/dl. Determine the most recent version of Go. Our examples will use 1.21.1. Therefore download and run the installer https://go.dev/dl/go1.21.1.windows-amd64.msi.
2. Download the most recent DNSTT source from https://www.bamsoftware.com/software/dnstt/dnstt-20220208.zip.
3. Unzip dnstt-20220208.zip.
4. To build the tunnel client for Windows, dnstt-client.exe, open a Command Prompt window and execute the commands:
cd Downloads\dnstt-20220208\dnstt-20220208\dnstt-clientgo build5. Open PowerShell, and download the public key that you generated on the server:
scp alice@YOUR.SERVER.IP.ADDRESS:dnstt/dnstt-server/server.pub Downloads\dnstt-20220208\dnstt-20220208\dnstt-client\server.pub6. Back in the Command Prompt window, if necessary, reposition:
cd Downloads\dnstt-20220208\dnstt-20220208\dnstt-client7. Run the tunnel client with the local listening port at 127.0.0.1:8000 using one of these commands, replacing the example subdomain name by your subdomain name:
7a. If DNS-over-HTTPS is blocked in your country, you can use UDP:
.\dnstt-client.exe -udp 1.1.1.1:53 -pubkey-file server.pub t.cscot.buzz 127.0.0.1:8000(Update 10/3/2023: Reports are coming in that 1.1.1.1 is blocked in China, so you'll have use a different public resolver if you're in China.)
7b. If DNS-over-HTTPS is unblocked, you will get an additional layer of encryption by choosing a DNS-over-HTTPS resolver from https://github.com/curl/curl/wiki/DNS-over-HTTPS#publicly-available-servers. We use the example of Cloudflare:
.\dnstt-client.exe -doh https://cloudflare-dns.com/dns-query -pubkey-file server.pub t.cscot.buzz 127.0.0.1:80008. Leave the Command Prompt window open, with dnstt-client.exe running in it.
9. Open a PowerShell window. Make SSH listen on 127.0.0.1:7000. The HostKeyAlias SSH option lets you connect to your SSH server as if it were located at 127.0.0.1:8000. Replace YOUR.SERVER.IP.ADDRESS with the hostname or IP address of your server. Replace alice by your non-root user name.
ssh -N -D 127.0.0.1:7000 -o HostKeyAlias=YOUR.SERVER.IP.ADDRESS -p 8000 alice@127.0.0.110. Leave the PowerShell window open, with SSH running in it.
11. Install Firefox, and open the Network Settings.

12. Configure Firefox to use the SOCKS proxy on 127.0.0.1:7000.