How to Create Free Public-Interest Shadowsocks Servers
October 17, 2023
Overview
Some people need a quick and free way to access a Shadowsocks server.
At the same time, other people are willing to provide free Shadowsocks servers, if they are in the public interest.
One thing that puts people off from providing free Shadowsocks servers is that you are effectively acting as an exit node. Whatever anyone does on your server can be blamed on you.
The architecture in this post addresses this problem. It makes it safer for anyone to offer free public-interest Shadowsocks servers.
+----------+        +--------+--------+
| SS       |        | SS     | Tor    |
| Client   +------->+ Server + Client +------> TOR
|          |        |        |        |
+----------+        +--------+--------+
The free server accepts SS traffic, but forces it into the Tor network. The risk is shunted to the knowledgeable and well-resourced organizations who host Tor exit nodes.
Also, since Tor will be slower than a commercial VPN, your server will not be exploited by cheap people who want a VPN but want someone else to pay for it.
Note that an adversary with both the password and the ability to eavesdrop on network traffic could decrypt the outer layer of encryption. Therefore only use these servers for HTTPS sites and in situations were it does not matter if the Server Name Indicator might be exposed. The pages visited and the data itself will still be protected by HTTPS.
The remainder of this post shows you how to set up the server and gives an example of installing a client.
Set Up Tor Client on Server
Install the prerequisite package to access the Tor repositories:
apt install -y apt-transport-httpsCreate /etc/apt/sources.list.d/tor.list like the example below (the distribution here is Ubuntu 22.04, which is why the distribution is jammy):
deb [signed-by=/usr/share/keyrings/tor-archive-keyring.gpg] https://deb.torproject.org/torproject.org jammy maindeb-src [signed-by=/usr/share/keyrings/tor-archive-keyring.gpg] https://deb.torproject.org/torproject.org jammy mainGet the Tor signing key:
wget -qO- https://deb.torproject.org/torproject.org/A3C4F0F979CAA22CDBA8F512EE8CBC9E886DDD89.asc | gpg --dearmor | tee /usr/share/keyrings/tor-archive-keyring.gpg >/dev/nullInstall Tor:
apt update && apt install -y tor deb.torproject.org-keyringBy default, Tor listens for SOCKS traffic on port 9050:
systemctl status tor@defaultss -tulpn | grep 9050Set Up Shadowsocks Server
Choose a port:
echo $((1024 + $RANDOM))Choose a password:
< /dev/urandom tr -dc A-Z-a-z-0-9 | head -c${1:-24};echo;Install the latest version of Xray to host your SS server:
bash -c "$(curl -L https://github.com/XTLS/Xray-install/raw/main/install-release.sh)" @ install --beta -u rootEdit the Xray configuration file /usr/local/etc/xray/config.json. Make it look like this. Note that Tor handles TCP only, and therefore the SS input must also be TCP only. (Firefox has a feature to send DNS queries through a SOCKS tunnel.)
{
    "routing": {
        "domainStrategy": "IPIfNonMatch",
        "rules": [
            {
                "type": "field",
                "ip": [
                    "geoip:private"
                ],
                "outboundTag": "block"
            }
        ]
    },
    "inbounds": [
        {
            "port": <PORT-NUMBER>,
            "protocol": "shadowsocks",
            "settings": {
                "clients": [
                    {
                        "password": "<PASSWORD>",
                        "method": "chacha20-ietf-poly1305"
                    }
                ],
                "network": "tcp"
            }
        }
    ],
    "outbounds": [
        {
            "protocol": "socks",
            "tag": "tor",
            "settings": {
                "servers": [
                    {
                        "address": "127.0.0.1",
                        "port": 9050
                    }
                ]
             }
        },
        {
            "protocol": "blackhole",
            "tag": "block"
        }
    ]
}
Restart Xray with your configuration:
systemctl restart xray && systemctl status xrayCommunicate Shadowsocks Parameters to Clients
Supply the server IP address, port, password, and encryption method to the public. You can also supply them as a URI-style ss:// link or as a QR code. Most SS clients can import server parameters from a URI or on-screen QR code.
The original Shadowsocks URI-style ss:// consisted of:
ss://websafe-base64-encode(method:password@hostname:port)#remarkShadowsocks Improvement Proposal SIP002 purposed a new URI scheme, following RFC3986, which looks like this:
ss://websafe-base64-encode(method:password)@hostname:port#remarkSome people use the original style, some people use the new style of ss:// URIs.
Clients
Clients are available for many platforms. Here are some examples:
- For Windows, Shadowsocks for Windows, v2rayN, or Nekoray
- For macOS, ShadowsocksX-NG
- For Linux, v2rayA or Nekoray
- For Android, v2rayNG from Google Play or from GitHub
- For iOS and iPadOS, Shadowrocket
We will give detailed installation instructions for Shadowsocks for Windows.
Install Shadowsocks for Windows Client
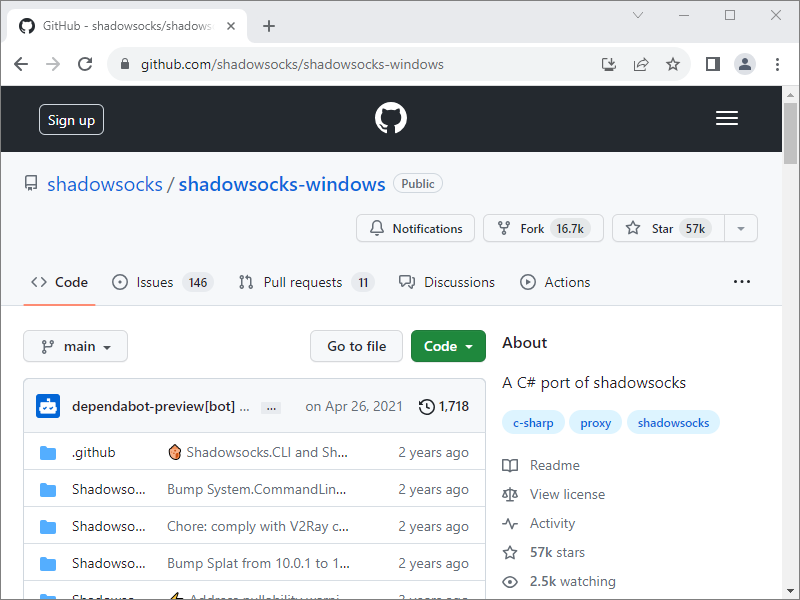
Open a browser and visit https://github.com/shadowsocks/shadowsocks-windows, the C# port of Shadowsocks.
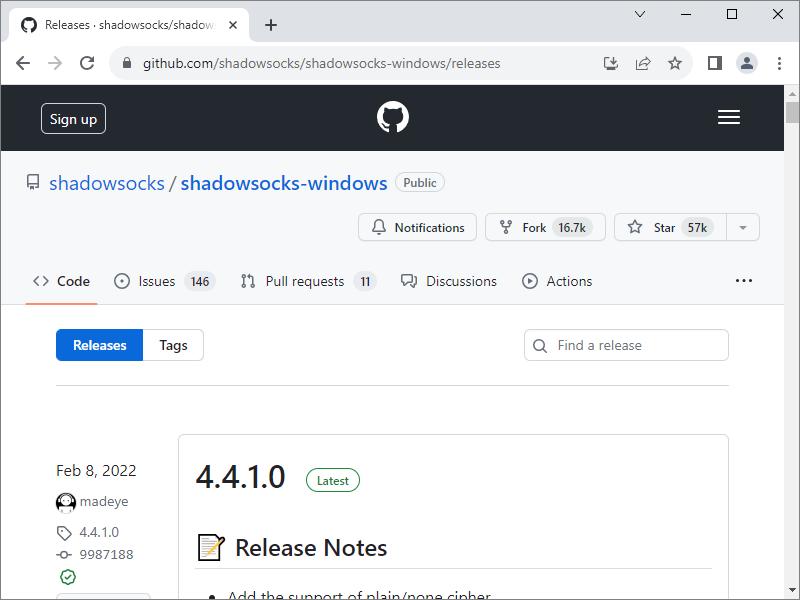
Scroll down and click Releases in the sidebar.
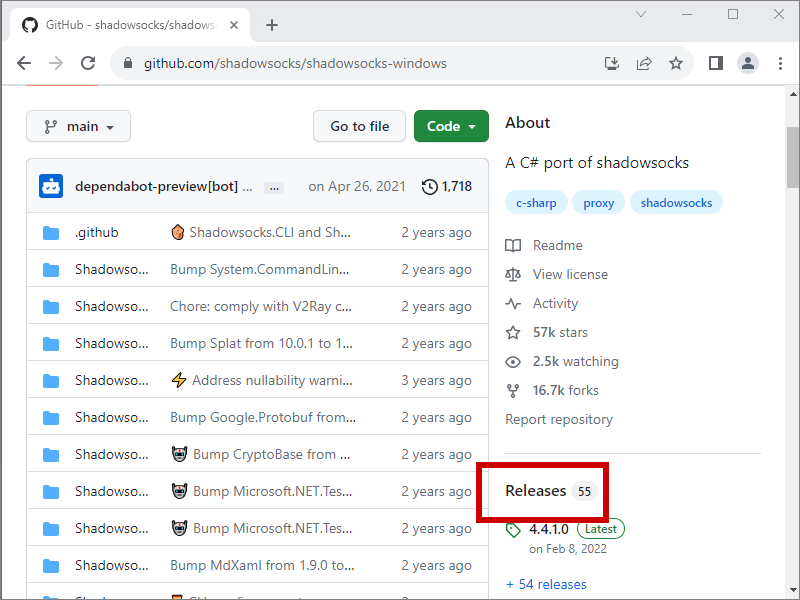
The topmost release will be the most recent.
Scroll down to the Assets section, and download the .zip file.
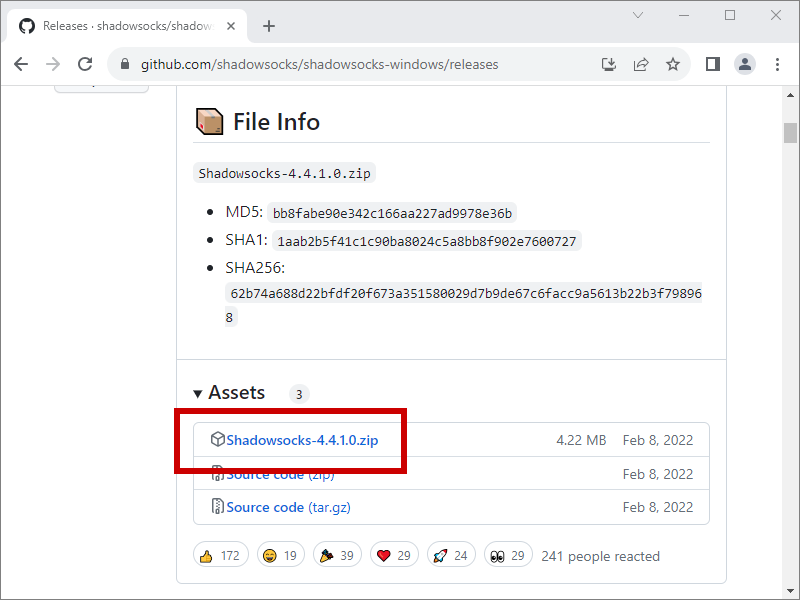
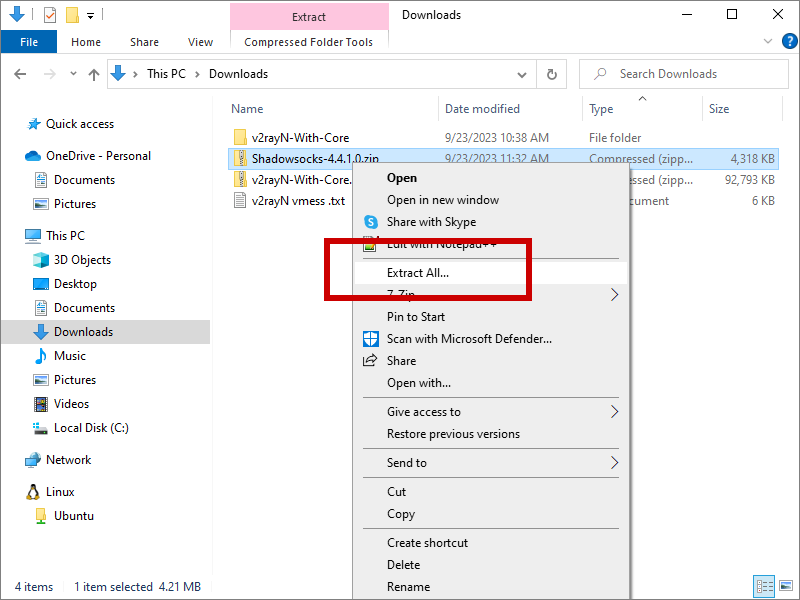
The .zip file is saved to your Downloads folder.

Right-click on the .zip file, and select Extract All....
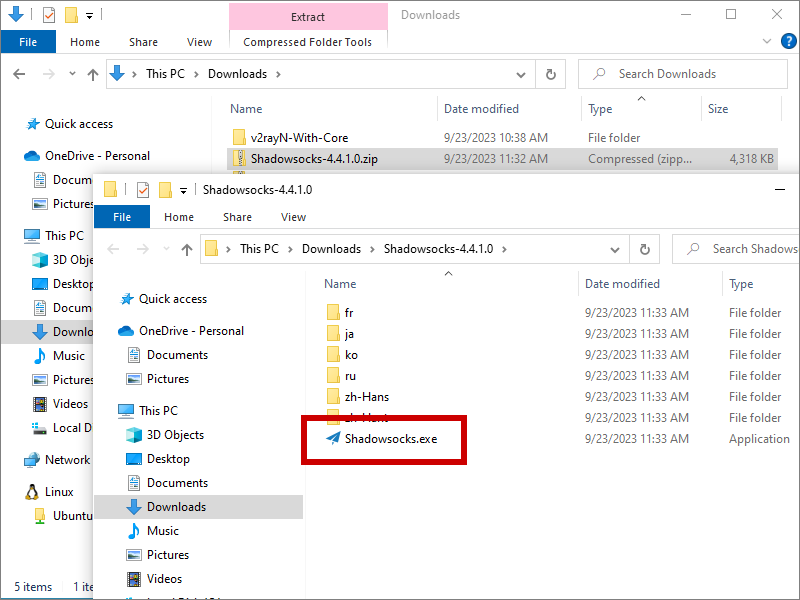
In the extracted folder, click Shadowsocks.exe to launch the application.
Make sure your screen is displaying the QR code.
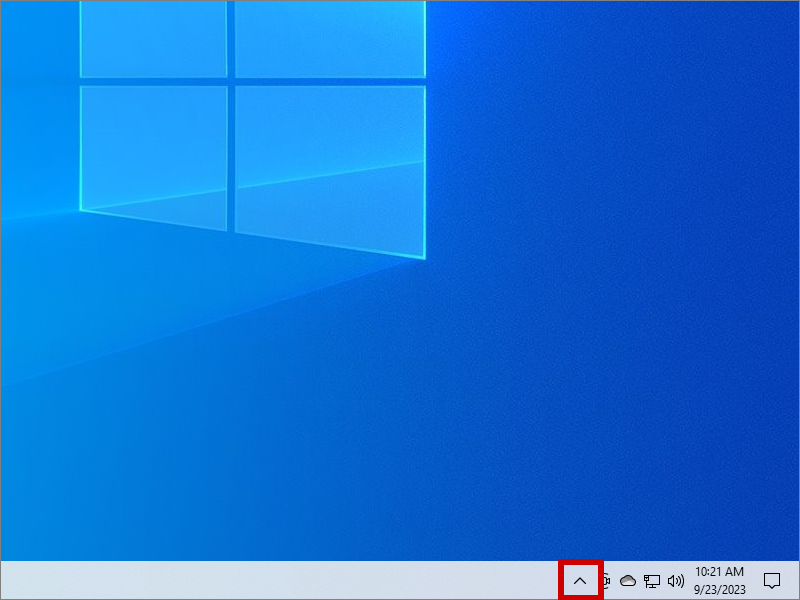
Click the up-arrow at the bottom right of your Windows desktop to bring up the icons in the system tray.
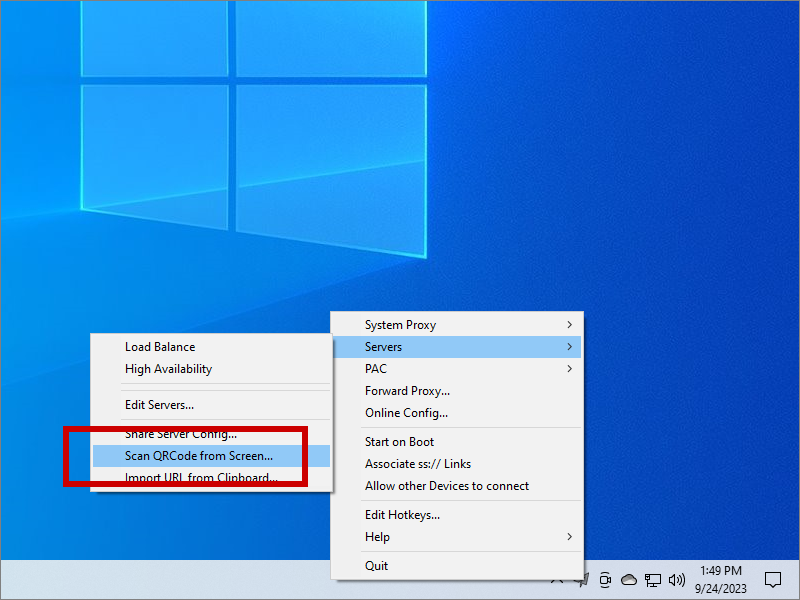
Find the Shadowsocks icon. Right-click on it to bring up the Shadowsocks context menu. Select Servers, then select Scan QR code from Screen. Click OK.
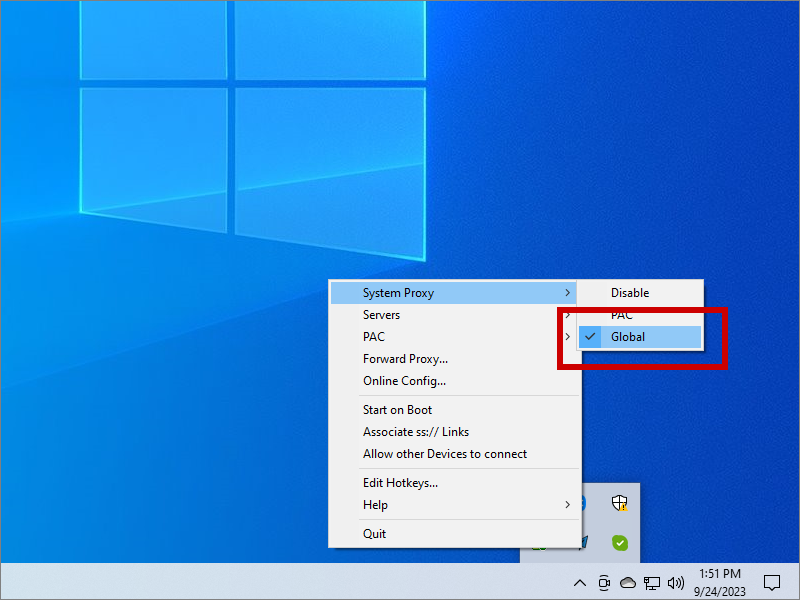
Make sure you have set the System Proxy mode to Global (the Shadowsocks icon in the system tray changes color to show this is on).
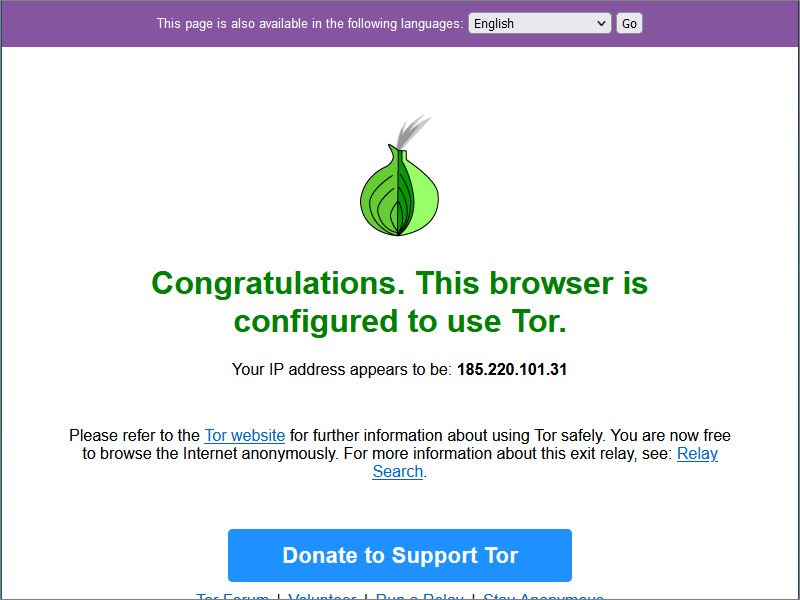
Open a browser and visit some websites. If you wish, you can check your apparent IP address by visiting https://check.torproject.org.
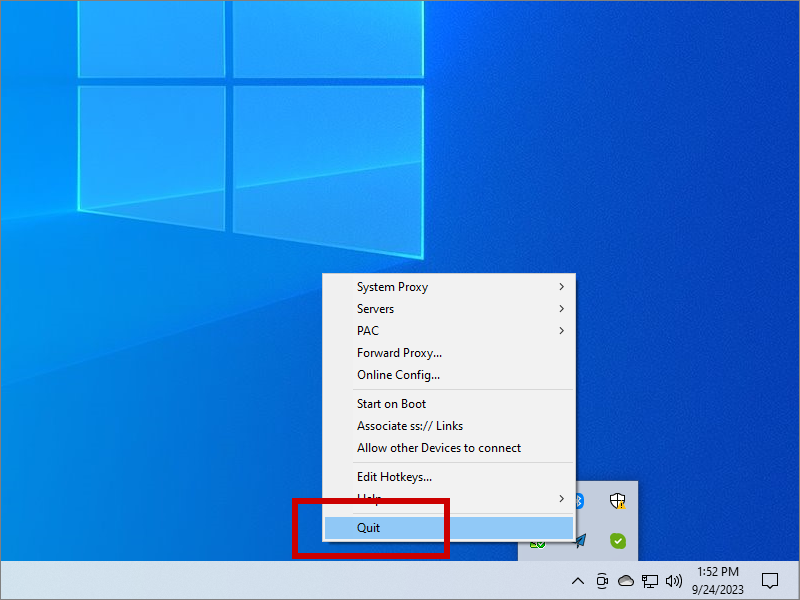
When you are finished browsing, find the Shadowsocks icon in the system tray, right-click, and select Quit.
Support Forums
- For Xray (which we are using here for the Shadowsocks server), https://t.me/projectXray
- For the Tor Project, https://forum.torproject.org
- For the Shadowsocks clients, refer to GitHub issues and discussions pages for individual clients